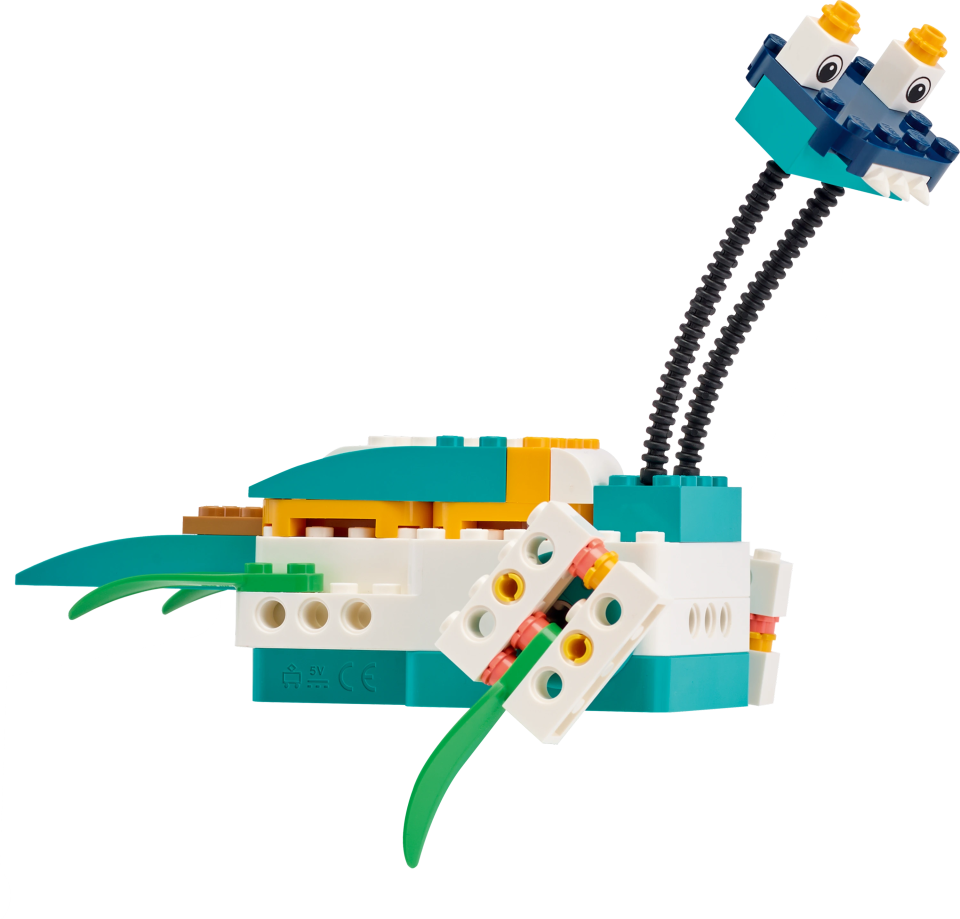
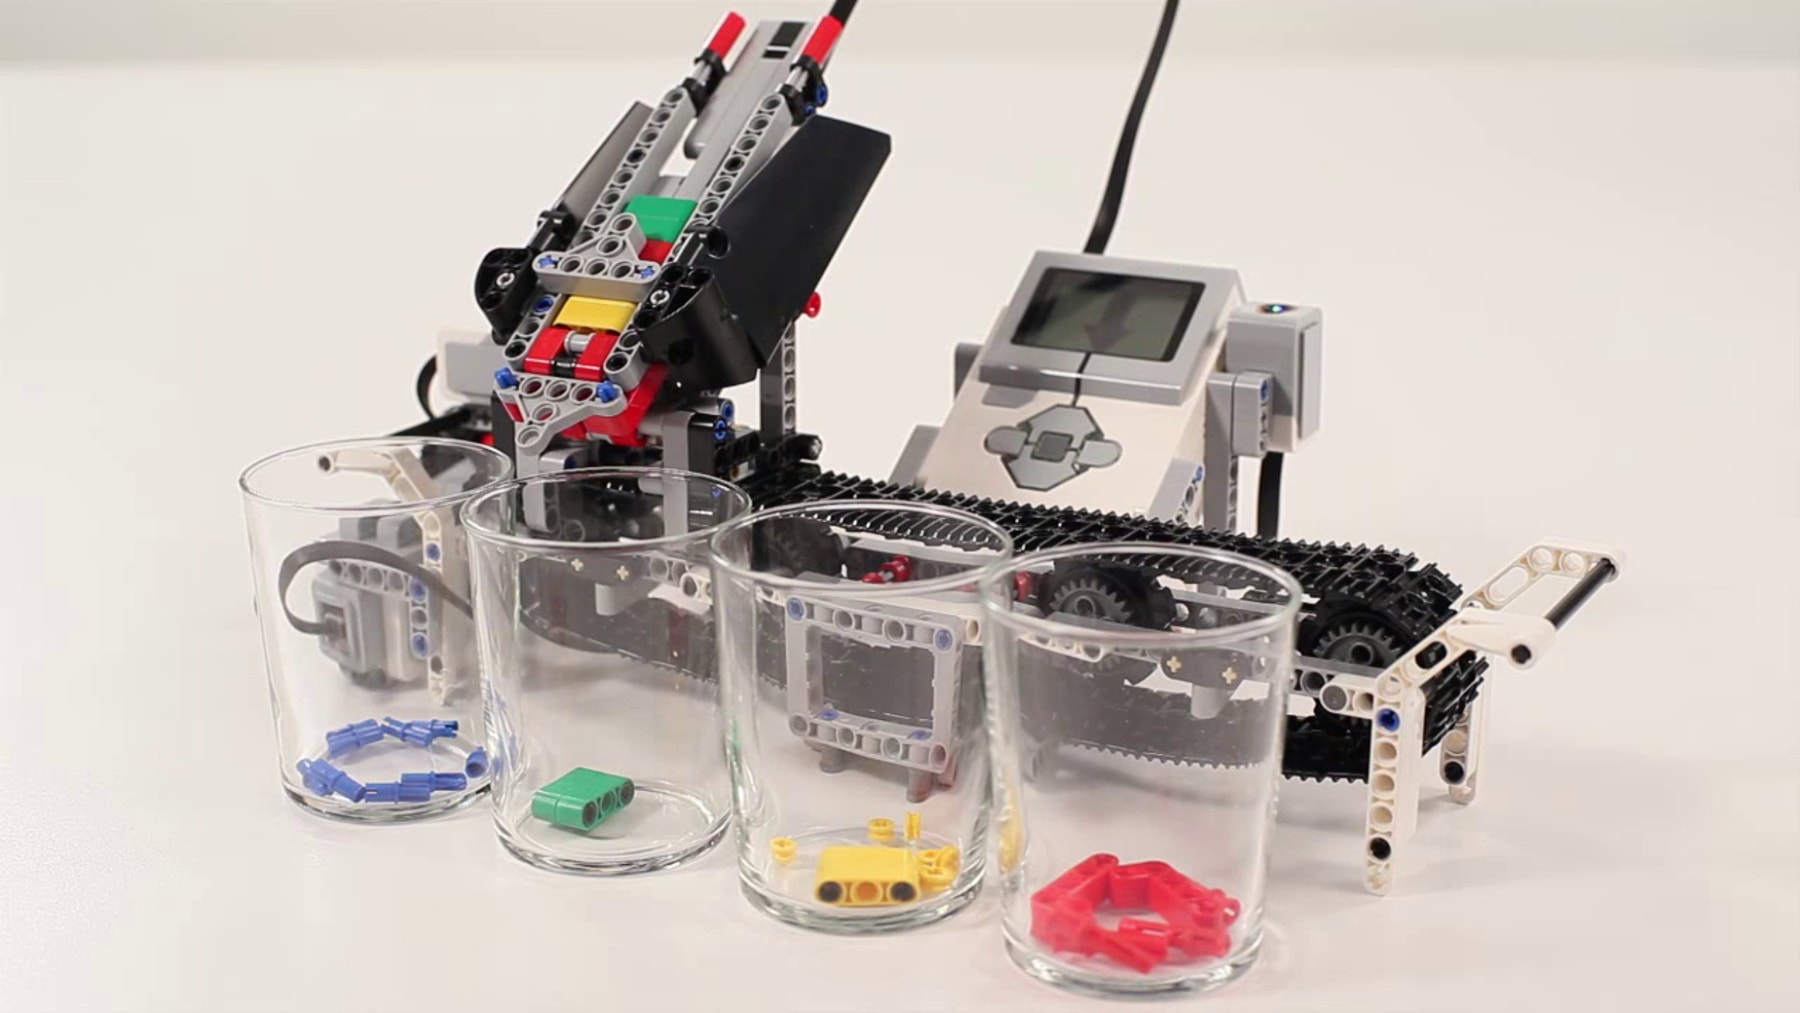
搭建分拣机
设计并搭建一台设备,且对其进行编程,使其能够识别至少三种不同颜色的乐高®元件,并将它们分类置于不同的位置。
课程计划
课前准备
- 通读教师教学材料。
- 可根据教学需要使用 EV3 Lab 软件或 EV3 机器人编程 App 应用程序中的入门教学材料来设计课程。这将有助于学生熟悉乐高教育® MINDSTORMS® 头脑风暴 EV3 机器人套装。
参与(30 分钟)
- 结合下文*发起一次讨论*部分的提示,组织学生围绕本项目展开讨论。
- 解释项目。
- 将整个班级按两人一组方式进行分组。
- 为学生预留头脑风暴的时间。
探究(30 分钟)
- 让学生创建多个原型。
- 鼓励学生探索搭建和编程。
- 让每组学生搭建并测试两种方案。
- 为学生提供杯子或其它容器来存放已分好类的物体。
解释(60 分钟)
- 要求学生测试自己的方案,并选出最优的一个。
- 确保学生能够创建自己的测试表。
- 为每个团队留些时间来完成项目,并收集他们的工作记录材料。
拓展(60 分钟)
- 给学生一些时间,让他们完成自己的最终报告。
- 组织一次分享会,让每个团队展示他们的成果。
评估
- 为每位学生的课堂表现提供反馈。
- 可借助所提供的评价量表来简化此环节。
发起一次讨论
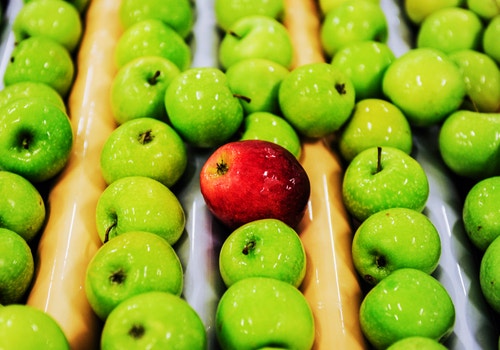
分拣机可以根据物体的属性(如大小、重量、质量或颜色)对它们进行分拣。这些设备使用各种传感器来测量这些属性,然后将每种物体归入正确的类别。

引入头脑风暴环节。
要求学生思考下列问题:
- 你们将要分拣什么颜色?
- 你们将要分拣什么尺寸的元件?
- 哪种电动机制可以移动这些元件?
- 此设备如何感测不同的位置?
- 哪些设计功能能够确保设备的运动准确且可重复?
鼓励学生记录最初想法,并解释第一个原型选用此方案的原因。要求学生描述:如何在整个项目进行过程中评估自己的想法。通过这种方式,他们在审核和修改过程中将会拥有评估自身方案的具体信息,并可籍此来决定方案是否有效。
拓展
语言艺术拓展
选项 1
为了引入语言艺术能力培养环节,让学生:
- 通过书面方式、草图和/或照片等方式,对设计过程进行总结,并制作一份最终报告。
- 制作一段演示设计过程的视频,从最初想法开始,到项目完成结束。
- 制作一份跟他们程序相关的演示文稿。
- 制作一份演示文稿,将他们的项目与类似系统的实际应用联系起来,并描述可以根据他们的创造而进行的新发明。
选项 2
在本节课中,学生将创建一台分拣机。食品行业和农业使用分拣机进行大规模生产和分销。
为了引入语言艺术能力培养环节,让学生:
- 描述当地及区域食品行业或农业的规模
- 选择特定规模的特定食品或农产品,规模可从小型企业/农场到国家或全球级别,并研究与食品行业和农业相关的网络安全问题(例如,如何确保安全可靠的粮食生产)
数学拓展
在本节课中,学生搭建了一 台可以根据颜色对物体进行分类的机器人分拣机。工程师可以使用机器学习技术搭建机器,根据比颜色更复杂的差异对物体进行分类。为此,开发人员使用被称为“分类”的机器学习流程。
为了提高数学技能并探索被称为“分类”的机器学习流程,请要求学生:
- 收集某种可以分类的物体(例如岩石、各种水果、手环),然后填写一个数据表,列出物体之间可见的定性和定量差异
- 定义哪些可见差异会导致“理想”和“不理想”(如重量、颜色、大小、缺陷)的单类物体分类标准
- 为机器人提出并尽可能构建新的分类设计和编程算法,使其能够对其它特征(如尺寸或重量)进行分类
编程要诀
EV3 MicroPython 示例程序
#!/usr/bin/env pybricks-micropython

from pybricks import ev3brick as brick
from pybricks.ev3devices import Motor, TouchSensor, ColorSensor
from pybricks.parameters import (Port, Button, Color, ImageFile,
                                 SoundFile)
from pybricks.tools import wait

# The Color Squares are red, green, blue, or yellow.
POSSIBLE_COLORS = (Color.RED, Color.GREEN, Color.BLUE, Color.YELLOW)

# Configure the belt motor with default settings.  This motor drives
# the conveyor belt.
belt_motor = Motor(Port.D)

# Configure the feed motor with default settings.  This motor ejects
# the Color Squares.
feed_motor = Motor(Port.A)

# Set up the Touch Sensor.  It is used to detect when the belt motor
# has moved the sorter module all the way to the left.
touch_sensor = TouchSensor(Port.S1)

# Set up the Color Sensor.  It is used to detect the color of the Color
# Squares.
color_sensor = ColorSensor(Port.S3)

# This is the main part of the program.  It is a loop that repeats
# endlessly.
#
# First, it moves the 2 motors to their correct starting positions.
# Second, it waits for you to scan and insert up to 8 Color Squares.
# Finally, it sorts them by color and ejects them in their correct
# positions.
#
# Then the process starts over, so you can scan and insert the next set
# of Color Squares.
while True:
    # Initialize the feed motor.  This is done by running the motor
    # forward until it stalls.  This means that it cannot move any
    # further.  From this end point, the motor rotates backward by 180
    # degrees.  This is the starting position.
    feed_motor.run_until_stalled(120)
    feed_motor.run_angle(450, -180)

    # Initialize the conveyor belt motor.  This is done by first
    # running the belt motor backward until the Touch Sensor is
    # pressed.  Then the motor stops and the angle is reset to "0."
    # This means that when it rotates backward to "0" later on, it
    # returns to this starting position.
    belt_motor.run(-500)
    while not touch_sensor.pressed():
        pass
    belt_motor.stop()
    wait(1000)
    belt_motor.reset_angle(0)

    # Clear all the contents from the Display.
    brick.display.clear()

    # Scanning a Color Square stores the color in a list.  The list is
    # empty to start.  It will grow as colors are added to it.
    color_list = []

    # This loop scans the colors of the objects.  It repeats until 8
    # objects are scanned and placed in the chute.  This is done by
    # repeating the loop while the length of the list is less than 8.
    while len(color_list) < 8:
        # Display an arrow that points to the Color Sensor.
        brick.display.image(ImageFile.RIGHT)

        # Display how many Color Squares have been scanned so far.
        brick.display.text(len(color_list))

        # Wait until the Center Button is pressed or a Color Square is
        # scanned.
        while True:
            # Store "True" if the Center Button is pressed or "False"
            # if not.
            pressed = Button.CENTER in brick.buttons()
            # Store the color measured by the Color Sensor.
            color = color_sensor.color()
            # If the Center Button is pressed or one of the possible
            # colors is detected, break out of the loop.
            if pressed or color in POSSIBLE_COLORS:
                break

        if pressed:
            # If the button was pressed, end the loop early.  It will
            # no longer wait for any Color Squares to be scanned and
            # added to the chute.
            break
        else:
            # Otherwise, a color was scanned, so it is added (appended)
            # to the list.
            brick.sound.beep(1000, 100, 100)
            color_list.append(color)

            # It should not register the same color again if it is
            # still looking at the same Color Square.  So, before
            # continuing, wait until the sensor no longer sees the
            # Color Square.
            while color_sensor.color() in POSSIBLE_COLORS:
                pass
            brick.sound.beep(2000, 100, 100)

            # Display an arrow pointing down and wait 2 seconds to
            # allow some time to slide the Color Square into the
            # motorized chute.
            brick.display.image(ImageFile.BACKWARD)
            wait(2000)

    # Play a sound and display an image to indicate that scanning is
    # complete.
    brick.sound.file(SoundFile.READY)
    brick.display.image(ImageFile.EV3)

    # Now sort the bricks using the list of colors that have been
    # stored.  Do this by looping over each color in the list.
    for color in color_list:

        # Wait for 1 second between each sorting action.
        wait(1000)

        # Run the conveyor belt motor to the position that corresponds
        # to the stored color.
        if color == Color.BLUE:
            brick.sound.file(SoundFile.BLUE)
            belt_motor.run_target(500, 10)
        elif color == Color.GREEN:
            brick.sound.file(SoundFile.GREEN)
            belt_motor.run_target(500, 132)
        elif color == Color.YELLOW:
            brick.sound.file(SoundFile.YELLOW)
            belt_motor.run_target(500, 360)
        elif color == Color.RED:
            brick.sound.file(SoundFile.RED)
            belt_motor.run_target(500, 530)

        # Now that the conveyor belt is in the correct position, eject
        # the colored object.
        feed_motor.run_angle(1500, 90)
        feed_motor.run_angle(1500, -90)
职业连接
喜欢这节课的学生可能会对以下相关行业产生兴趣:
- 农业和园艺(农业机械与技术)
- 制造与工程(机械技术)
评估环节
教师观察清单
可根据教学需要设定等级,例如:
1.部分完成
2.全部完成
3.超额完成
请使用下列成功完成任务的标准来评估学生的进度:
- 学生能够根据优先标准和权衡多种因素来评估竞争性设计方案。
- 学生能够自主开发出可行且富有创意的方案。
- 学生能够清楚表达他们的想法。
自我评估
当学生收集到所需的性能数据后,给他们一些时间反思自己的方案。通过提出如下问题来帮助他们:
- 你们的方案是否符合“设计任务”的标准?
- 你们的设备能够移动的更精确些吗?
- 其他人解决这个问题时采用了哪些方法?
要求学生进行头脑风暴,并记录两种能够改进他们方案的方法。
同伴反馈
推动学生进行同伴审核,由每个小组负责��评价自己及其他小组的项目。此审核过程能够培养学生提供建设性反馈的能力,提升他们的分析能力和使用客观数据支持论点的能力。
教师支持
学生将会:
- 运用设计流程来解决实际问题
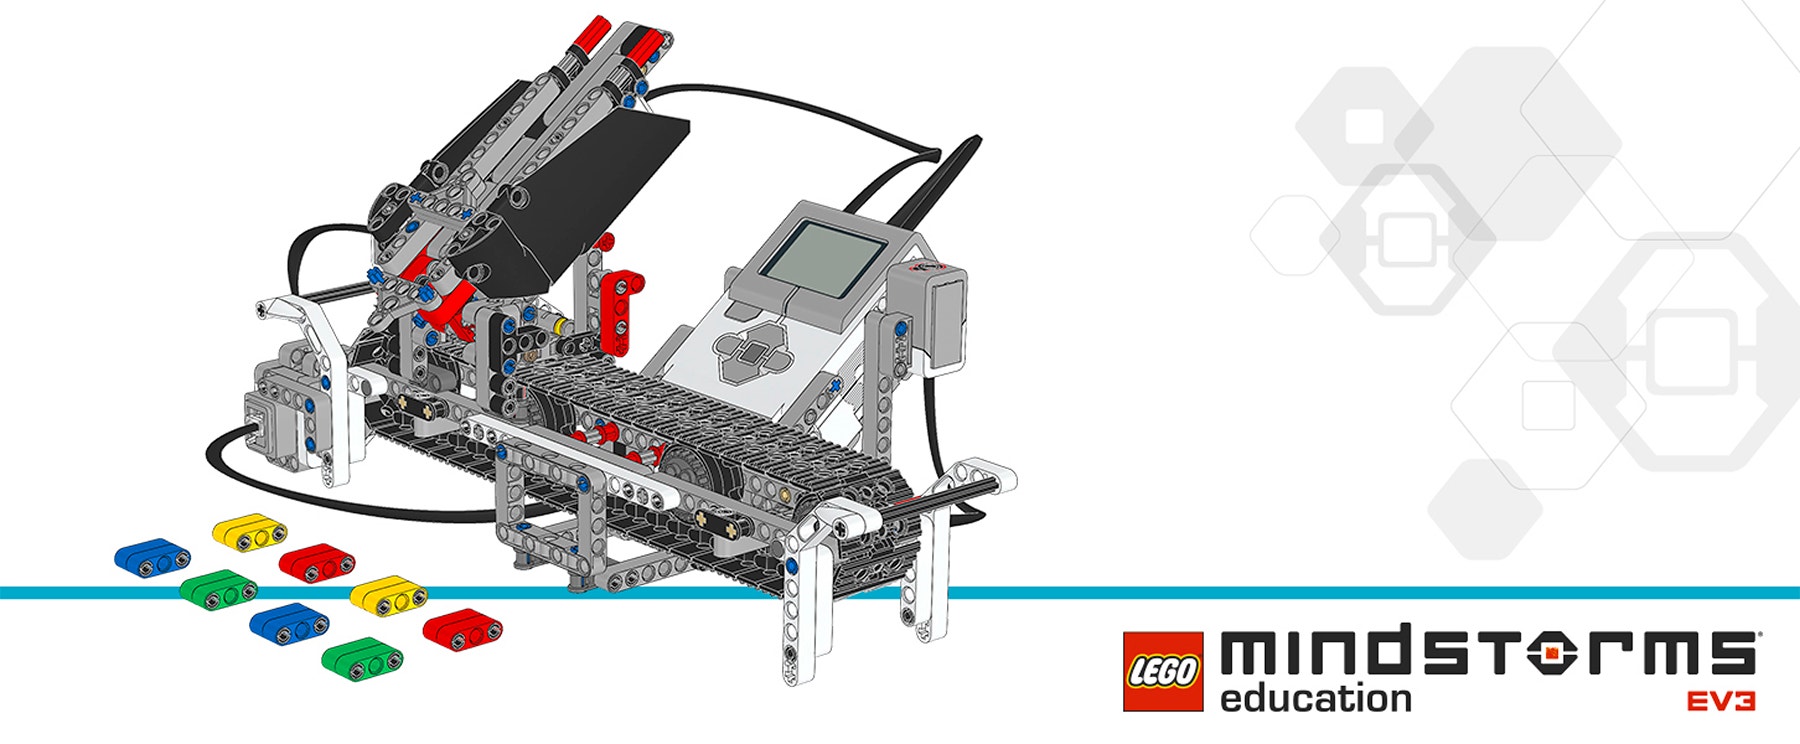
乐高教育® MINDSTORMS® 头脑风暴 EV3 机器人核心套装
用于盛放已分类物体的杯子或其它容器
用于标记位置的胶带
www.moe.gov.cn/srcsite/A26/s8001/201801/t20180115_324647.html
高中信息技术课程标准
开源硬件项目设计模块
6.6 根据设计方案,利用开源硬件的设计工具或编程语言,实现作品的各种功能模块。
6.7 根据设计方案,测试、运行作品的数据采集、运算处理、数据输出、调控执行等各项功能,优化设计方案。