搭建取放机器人
设计和搭建一个机器人系统,并对其进行编程,使其能够在一个位置拾取物体,然后将该物体放置到另一个位置。
课程计划
课前准备
- 通读教师教学材料。
- 可根据教学需要使用 EV3 Lab 软件或 EV3 机器人编程 App 应用程序中的入门教学材料来设计课程。这将有助于学生熟悉乐高教育® MINDSTORMS® 头脑风暴 EV3 机器人套装。
参与(30 分钟)
- 结合下文*发起一次讨论*部分的提示,组织学生围绕本项目展开讨论。
- 解释项目。
- 将整个班级按两人一组方式进行分组。
- 为学生预留头脑风暴的时间。
探究(30 分钟)
- 让学生创建多个原型。
- 鼓励学生探索搭建和编程。
- 让每组学生搭建并测试两种方案。
- 为他们提供一张大的坐标纸和彩色铅笔或马克笔。
解释(60 分钟)
- 要求学生测试自己的方案,并选出最优的一个。
- 确保学生能够创建自己的测试表。
- 为每个团队留些时间来完成项目,并收集他们的工作记录材料。
拓展(60 分钟)
- 给学生一些时间,让他们完成自己的最终报告。
- 组织一次分享会,让每个团队展示他们的成果。
评估
- 为每位学生的课堂表现提供反馈。
- 可借助所提供的评价量表来简化此环节。
发起一次讨论
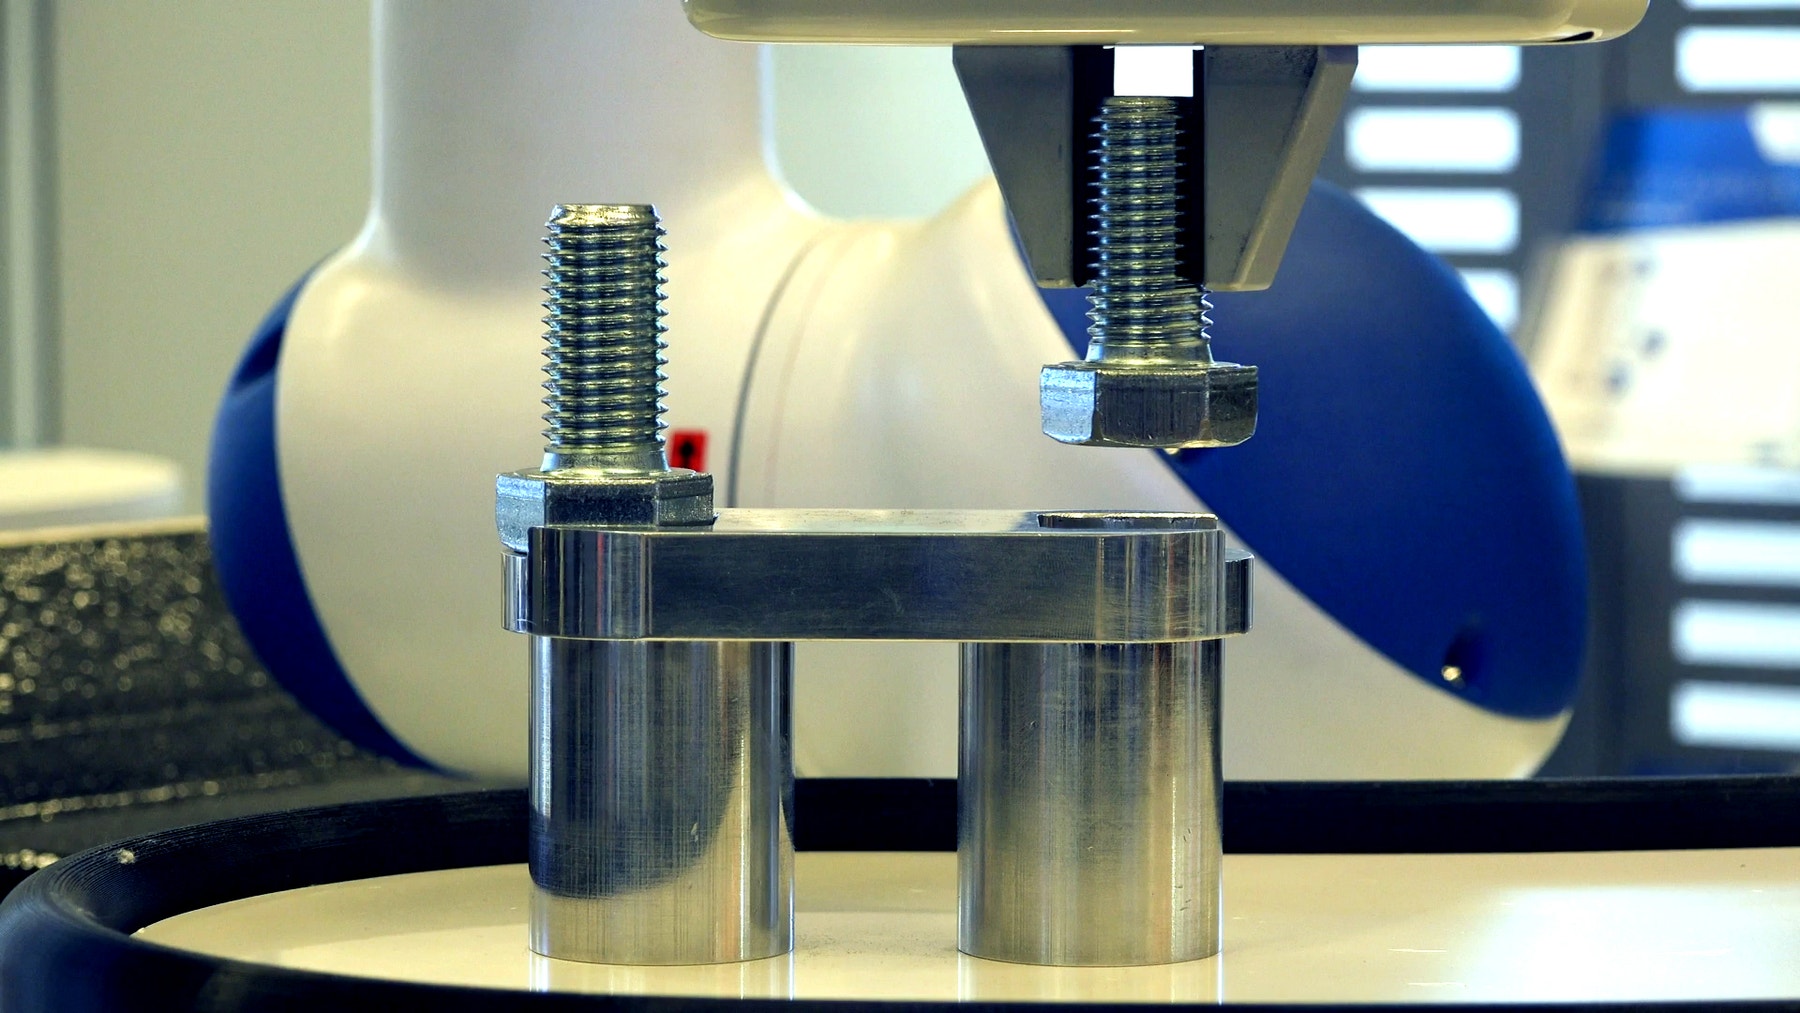
取放机器人是一种工业机器人,它能够将物体移进和移出指定地点。还能够根据物体的形状、重量和脆性,使用不同类型的夹持器来安全、精确地拾取和释放物体。
引入头脑风暴环节。
要求学生思考下列问题:
- 什么是取放机器人,它用在哪里?
- 哪种电动机制可以用来拾取物体?
- 机器人如何移动物体?
- 机器人如何能够将物体谨慎准确地放置到另一个位置?
鼓励学生记录最初想法,并解释第一个原型选用此方案的原因。要求学生描述:如何在整个项目进行过程中评估自己的想法。通过这种方式,他们在审核和修改过程中将会拥有评估自身方案的具体信息,并可籍此来决定方案是否有效。
拓展
语言艺术拓展
为了引入语言艺术能力培养环节,让学生:
选项 1
- 通过书面方式、草图和/或照片等方式,对设计过程进行总结,并制作一份最终报告。
- 制作一段演示设计过程的视频,从最初想法开始,到项目完成结束。
- 制作一份跟他们程序相关的演示文稿。
- 制作一份演示文稿,将他们的项目与类似系统的实际应用联系起来,并描述可以根据他们的创造而进行的新发明。
选项 2
为了引入语言艺术能力培养环节,让学生:
研究不同的药物和疫苗制备机器,然后写作一篇与在自动化制药实验室工作相关的记叙文,并说明药物自动化生产的优势和劣势
从数据保护角度讨论在线系统中潜在价值数十亿美元的药品“配方”的版权问题,请考虑:
公司丢失药品数据的潜在后果
将敏感数据存储在在线系统中的益处
数学拓展
在本节课中,学生将创建取放机器人。与许多自动化系统一样,评估和改进性能至关重要。机器学习是一个流程,通过它,取放机器人可以测量自身的性能,并进行修改以保持或提高相应性能。
为了提高数学技能并探索机器学习,请要求学生:
- 定义术语的准确性和精度,并将相关定义用于机器人项目
- 确定与系统准确性和精度相关的变量(例如,机器人的移动速度可能会影响自身的准确性或精度,或者同时影响两者)
- 设计小型实验来测试他们所选择的变量是否会影响机器人的准确性或精度,或者同时影响两者
搭建要诀
测试要诀
鼓励学生设计自己的测试装置和流程,从而选择最佳方案。下列提示可以帮助学生建立他们的测试体系:
- 在坐标纸上标记设备的位置,以确保在每次测试运行时都可以将其放置在相同的位置。
- 使用网格线标示出 1 厘米 x 1 厘米的方格,以帮助记录每次试运行的结果。
- 使用彩色铅笔或马克笔来标记机器人放置物体的预期和实际位置。
- 创建测试表以记录观察结果。
- 通过对比预期结果和实际结果来评估机器人的精准度。
- 至少重复测试三次。
示例方案
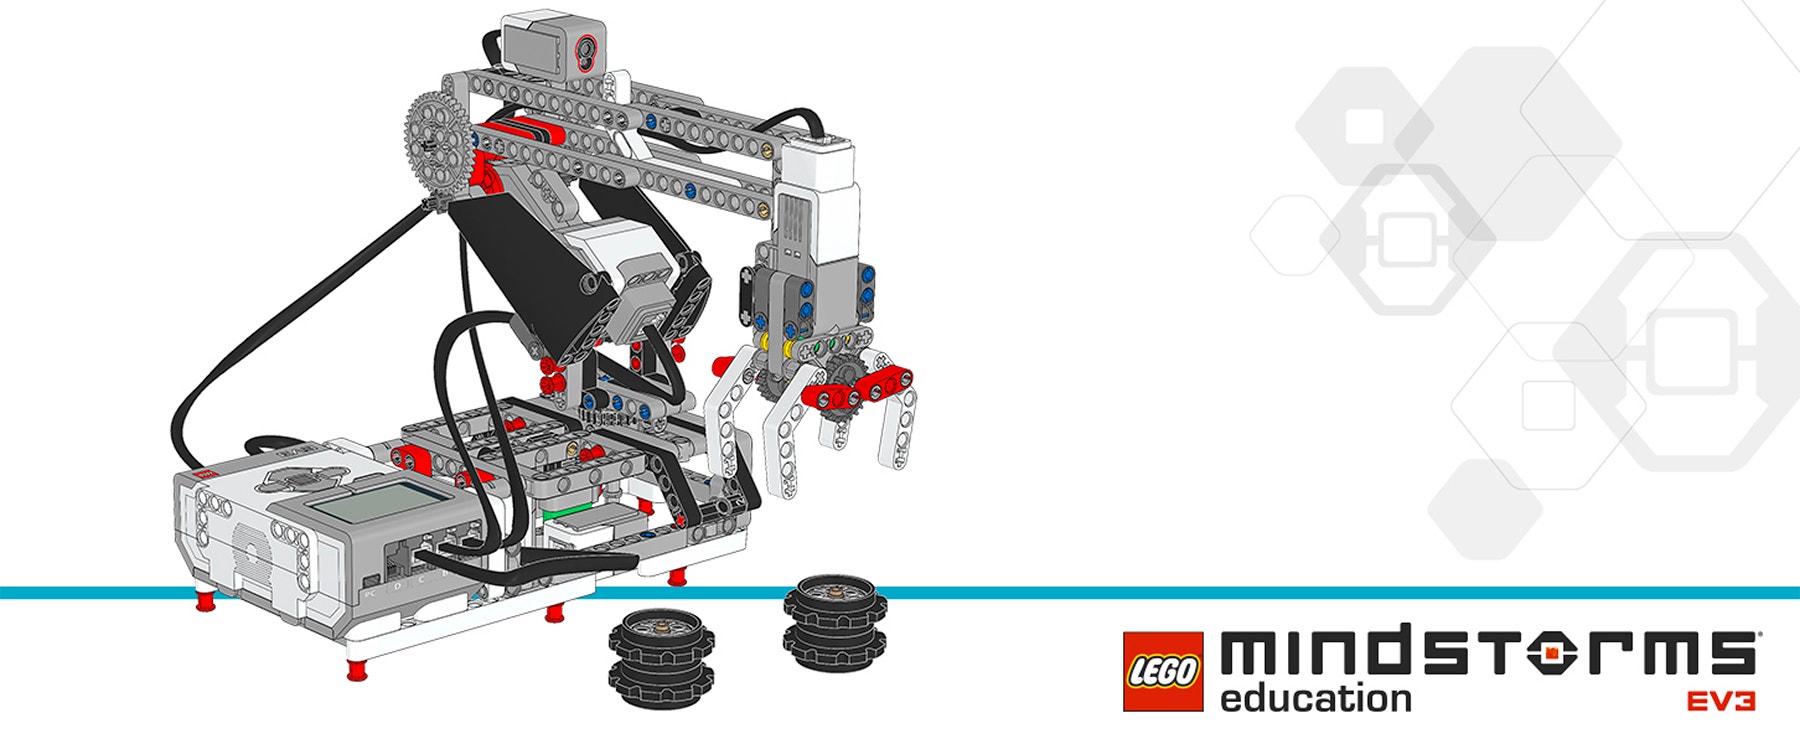
以下是符合“设计任务”标准的示例方案:
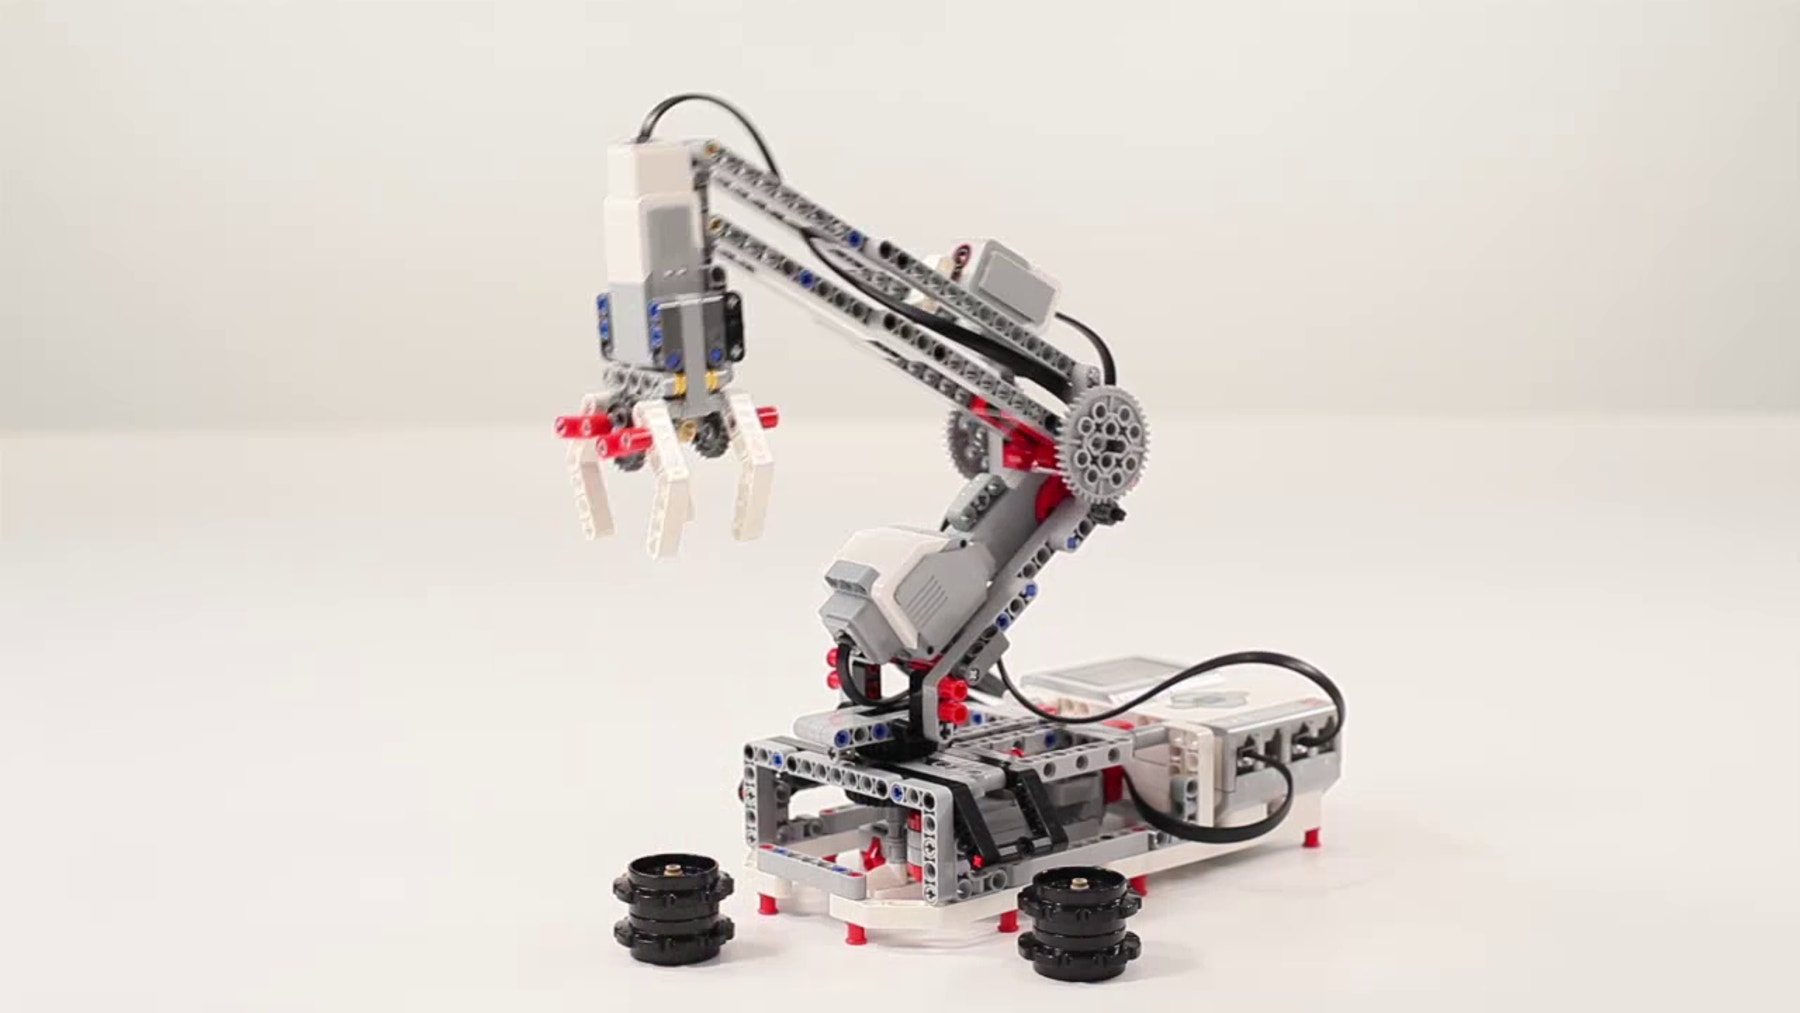
编程要诀
EV3 MicroPython 示例程序
#!/usr/bin/env pybricks-micropython

from pybricks import ev3brick as brick
from pybricks.ev3devices import Motor, TouchSensor, ColorSensor
from pybricks.parameters import (Port, Stop, Direction, Button,
                                 ImageFile, SoundFile)
from pybricks.tools import wait

# Configure the gripper motor with default settings.
gripper_motor = Motor(Port.A)

# Configure the elbow motor.  It has an 8-tooth and a 40-tooth gear
# connected to it.  Set the motor direction to counterclockwise, so
# that positive speed values make the arm move upward.
elbow_motor = Motor(Port.B, Direction.COUNTERCLOCKWISE, [8, 40])

# Configure the motor that rotates the base.  It has a 12-tooth and a
# 36-tooth gear connected to it.  Set the motor direction to
# counterclockwise, so that positive speed values make the arm move
# away from the Touch Sensor.
base_motor = Motor(Port.C, Direction.COUNTERCLOCKWISE, [12, 36])

# Limit the elbow and base accelerations.  This results in very smooth
# motion, like that of an industrial robot.
elbow_motor.set_run_settings(60, 120)
base_motor.set_run_settings(60, 120)

# Set up the Touch Sensor.  It is used to detect when the base has
# moved to its starting position.
touch_sensor = TouchSensor(Port.S1)

# Set up the Color Sensor.  It is used in Reflected Light Intensity
# Mode to detect the white beam when the elbow is in its starting
# position.
color_sensor = ColorSensor(Port.S3)

# Initialize the elbow.  This is done by first moving down for 1 second
# and then slowly moving up until the Color Sensor detects the white
# beam.  Then the motor stops, holds its position, and resets the angle
# to "0."  This means that when it rotates backward to "0" later on, it
# returns to this starting position.
elbow_motor.run_time(-30, 1000)
elbow_motor.run(15)
while color_sensor.reflection() < 30:
    wait(10)
elbow_motor.stop(Stop.HOLD)
elbow_motor.reset_angle(0)

# Initialize the base.  This is done by first running the base motor
# counterclockwise until the Touch Sensor is pressed.  Then the motor
# stops, holds its position, and resets the angle to "0."  This means
# that when it rotates backward to "0" later on, it returns to this
# starting position.
base_motor.run(-60)
while not touch_sensor.pressed():
    wait(10)
base_motor.stop(Stop.HOLD)
base_motor.reset_angle(0)

# Initialize the gripper.  This is done by running the motor forward
# until it stalls.  This means that it cannot move any further.  From
# this closed gripper position, the motor rotates backward by 90
# degrees, so the gripper opens up.  This is the starting position.
gripper_motor.run_until_stalled(200, Stop.COAST, 50)
gripper_motor.reset_angle(0)
gripper_motor.run_target(200, -90)

def robot_pick(position):
    # This function rotates the base to the pick up position.  There,
    # it lowers the arm, closes the gripper, and raises the arm to pick
    # up the wheel stack.
    base_motor.run_target(60, position, Stop.HOLD)
    elbow_motor.run_target(60, -45)
    gripper_motor.run_until_stalled(200, Stop.HOLD, 50)
    elbow_motor.run_target(60, 0, Stop.HOLD)

def robot_release(position):
    # This function rotates the base to the drop-off position.  There,
    # it lowers the arm, opens the gripper to release the wheel stack,
    # and raises the arm again.
    base_motor.run_target(60, position, Stop.HOLD)
    elbow_motor.run_target(60, -45)
    gripper_motor.run_target(200, -90)
    elbow_motor.run_target(60, 0, Stop.HOLD)

# Define the 3 destinations for picking up and dropping off the wheel
# stacks.
LEFT = 200
CENTER = 100
RIGHT = 0

# Rotate the base to the center.
base_motor.run_target(60, CENTER, Stop.HOLD)

# This is the main part of the program.  It is a loop that repeats
# endlessly.
#
# First, the robot waits until the Up or Down Button is pressed.
# Second, the robot waits until the Center Button is pressed.
# Finally, the robot picks up the wheel stack and drops it off in the
# center.
#
# Then the process starts over, so the robot can pick up another wheel
# stack.
while True:

    # Display a question mark to indicate that the robot should await
    # instructions.
    brick.display.image(ImageFile.QUESTION_MARK)

    # Wait until the Up or Down Button is pressed.
    while True:
        # First, wait until any button is pressed.
        while not any(brick.buttons()):
            wait(10)
        # Then store which button was pressed.
        button = brick.buttons()[0]
        # If the Up or Down Button was pressed, break out of the loop.
        if button in (Button.UP, Button.DOWN):
            break

    # Play a sound and display an arrow to show where the arm will move.
    brick.sound.file(SoundFile.AIR_RELEASE)
    if button == Button.UP:
        brick.display.image(ImageFile.FORWARD)
    elif button == Button.DOWN:
        brick.display.image(ImageFile.BACKWARD)

    # Wait until the Center Button is pressed, then display a check
    # mark to indicate that the instruction has been accepted.
    while not Button.CENTER in brick.buttons():
        wait(10)
    brick.display.image(ImageFile.ACCEPT)

    # Pick up the wheel stack. Depending on which button was pressed,
    # move left or right.
    if button == Button.UP:
        robot_pick(RIGHT)
    elif button == Button.DOWN:
        robot_pick(LEFT)

    # Drop off the wheel stack in the center.
    robot_release(CENTER)
职业连接
喜欢这节课的学生可能会对以下相关行业产生兴趣:
- 信息技术(计算机编程)
- 制造与工程(机械技术)
评估环节
教师观察清单
可根据教学需要设定等级,例如:
1.部分完成
2.全部完成
3.超额完成
请使用下列成功完成任务的标准来评估学生的进度:
- 学生能够根据优先标准和权衡多种因素来评估竞争性设计方案。
- 学生能够自主开发出可行且富有创意的方案。
- 学生能够清楚表达他们的想法。
自我评估
当学生收集到所需的性能数据后,给他们一些时间反思自己的方案。通过提出如下问题来帮助他们:
- 你们的方案是否符合“设计任务”的标准?
- 你们的机器人能够运动的更精准些吗?
- 其他人解决这个问题时采用了哪些方法?
要求学生进行头脑风暴,并记录两种能够改进他们方案的方法。
同伴反馈
推动学生进行同伴审核,由每个小组负责评价��自己及其他小组的项目。此审核过程能够培养学生提供建设性反馈的能力,提升他们的分析能力和使用客观数据支持论点的能力。
教师支持
学生将会:
- 运用设计流程来解决实际问题
乐高教育® MINDSTORMS® 头脑风暴 EV3 机器人核心套装
一张大的坐标纸或印有网格线的纸张
彩色铅笔或马克笔
www.moe.gov.cn/srcsite/A26/s8001/201801/t20180115_324647.html
高中信息技术课程标准
人工智能初步
4.4 利用开源人工智能应用框架,搭建简单的人工智能应用模块,并能根据实际需要配置适当的环境、参数及自然交互方式等。
4.5 通过智能系统的应用体验,了解社会智能化所面临的伦理及安全挑战,知道信息系统安全的基本方法和措施,增强安全防护意识和责任感。
开源硬件项目设计模块
6.6 根据设计方案,利用开源硬件的设计工具或编程语言,实现作品的各种功能模块。
6.7 根据设计方案,测试、运行作品的数据采集、运算处理、数据输出、调控执行等各项功能,优化设计方案。
